|
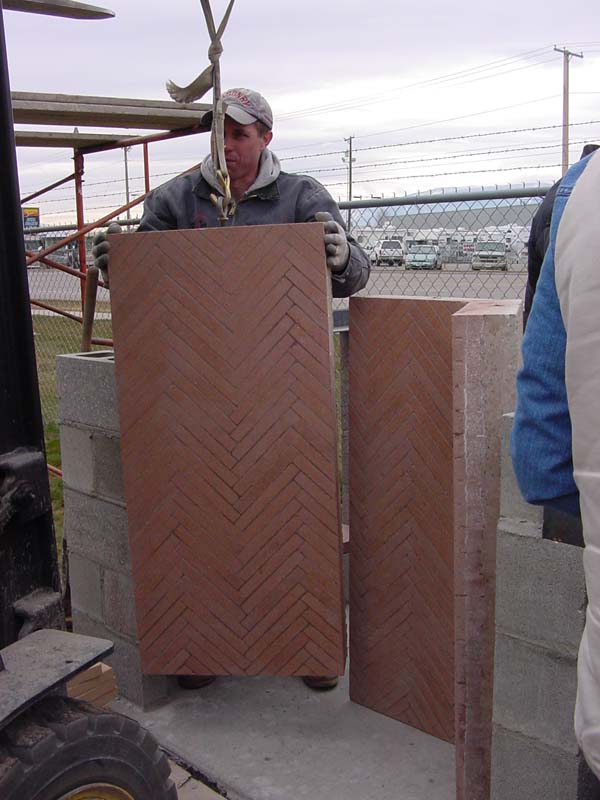
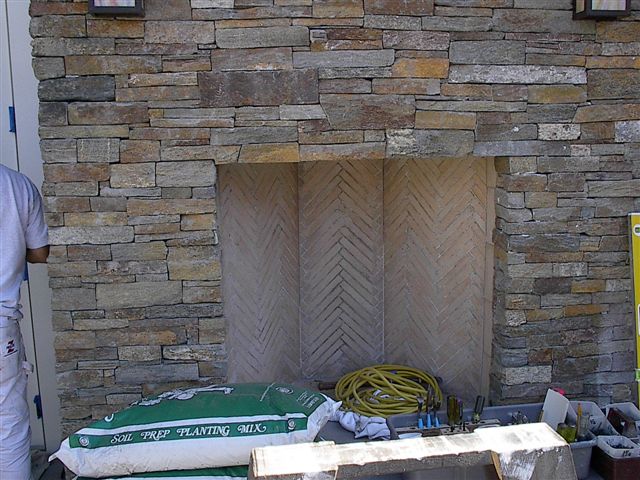
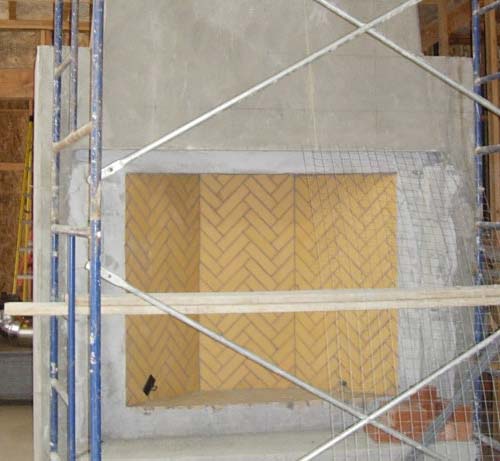
Buckley Rumford Fireplaces Siber Herringbone Firebox The idea of the herringbone panelized firebox is to save time, skill and money by making the firebox sides and back in a jig on the floor and then setting the panels in place instead of building the firebox, brick by brick. Superior Clay pre-builds the herringbone panels which are described with Instructions about how to set them in place at "Herringbone Fireboxes".
|
|
We have decided to make the panels on the job site in China in order to save the expense of shipping the heavy panels from the US. Below are my instructions about how to make the panels before I get there so they will be cured and ready to set in place by October 6. Instructions for Making Herringbone Panels Materials needed.
50 pound bag of HeatStop 50 refractroy mortar Plywood at least 4' by 6' (122 cm x 180 cm) Lumber about 8 pieces 2"x6" (5 cm x 15 cm) and 6' (180 cm) long Concrete enough to cover 4' by 6' (122 cm x 180 cm) firebrick panel 2" (5 cm) thick Wire mesh or screen for reinforcing 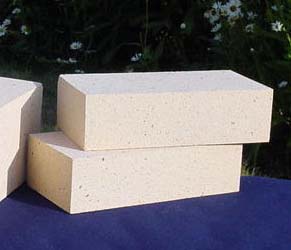
Mortar mixer Diamond blade masonry saw that will cut through 5" (13 cm) of concrete 
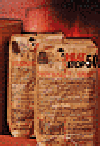
My recommendation is to use the full Chinese firebrick available, which will look much like the picture on the right. Size of panel. The 42" Rumford fireplace we will build has a firebox that is 42" tall and 42" wide (106.5 cm square). Each coving, or side is 21" (53.5 cm) wide and the fireback is 15" (38 cm) wide so the flat firebrick panel we need to lay out will be at least 42" (106.5 cm) tall by 57" (145 cm) wide. We Say "at least" because we want to use whole brick. We will trim the edges later. Vertical or horizontal centered pattern. Notice in the pictures above the herringbone pattern is vertical and centered in the middle of the fireback. Vishakha shows a horizontal pattern in her plan. Either is fine. Just decide first so it can be layed out symetrically. Prepare firebrick. Partially cut and break each firebrick in half the ling way. If you are using 9"x4.5"x2.25" (23cm x 11.5cm x 5.7cm) firebrick, cut/break the firebrick so that it measures 9"x2.25"x2.25" (23cm x 5.7cm x 5.7cm). Use refractory mortar. Be prepared to mix a small amount of the HeatStop 50 refractory mortar. Mix with just enough water to make workable. Don't make too much at a time. Throw out any that is not used withing one hour. Plywood on four pieces of lumber on a flat floor. Lay a sheet of plywood on four of the pieces of 2"x6" (5 cm x 15 cm) and 6' (180 cm) long lumber - so the plywood can be lifted later - on a flat floor. Strike a centerline with the chalkline on the plywood at least 42" (106.5 cm) long and snap some guidelines at a 45 degree angle from the centerline. Lay firebrick up side down (good side down - broken/cut side up) in herringbone pattern with refractroy mortar. The firebrick will be layed good face down in two rows at a 45 degree angle to the centerline and along the centerline. Use refractory mortar between the bricks but keep the good faces down on the plywood as clean as possible. Use only enough refractroy mortar to make a very thin joint - about 1/8" (3 mm) thick. After the first two lines of brick are layed, more guidlines can be drawn or snapped and the rest of the firebox layed in a herringbone pattern so that the total width is at least 57" (145 cm) wide. Build 2"x6" (5 cm x 15 cm) frame. After the firebrick has all been layed build a frame around the brick using the other four pieces of 2"x6" (5 cm x 15 cm) lumber. It doesn't matter how big this frame is so long as the whole firebrick fabric inside it is at least 42" (106.5 cm) tall by 57" (145 cm) wide. We will cut the panel in three pieces and trim the edges later. Pour concrete on back of firebrick. Mix and pour about 1" (2.5 cm) of concrete on the back of the firebrick. Lay the reinforcing screen in the wet concrete. Mis and pour at least another 1" (2.5 cm) of concrete on top of the screen to finish the reinforced concrete backing. Turn slab over. After two day to cure lift plywood and slab and turn over. The slab will be heavy so four or five men or a crane may be needed. Lay slab right side up on a couple of the pieces of 2"x6" (5 cm x 15 cm) lumber. Fill any voids in the mortar joints with refractroy mortar and wash and clean surface of the firebrick. Cut and trim. Snap chalk lines top and bottom and trim the top and botton edges with the diamond blade saw so that the firebeick panel is 42" (106.5 cm) tall. From the centerline measure 7.5" (19 cm) to each side and smap a chalk line to mark the line between the fireback and each side or coving. Measure another 21" (53.5 cm) on each side of those lines to mark out the covings (sides) and smap another line where the side edges will be trimmed. Trim the edges and cut the panel into three pieces - two covings and the fireback - using the diamond blade saw. Moving the panels. When the panels are moved take care to tilt them from the back side so as not to damage the firebrick face. Inner hearth. If it is desirable to build the inner hearth in a herringbone pattern that can be done in place.
|

Buckley Rumford Fireplaces
Copyright 1995 - 2011 Jim Buckley
All rights reserved.
webmaster